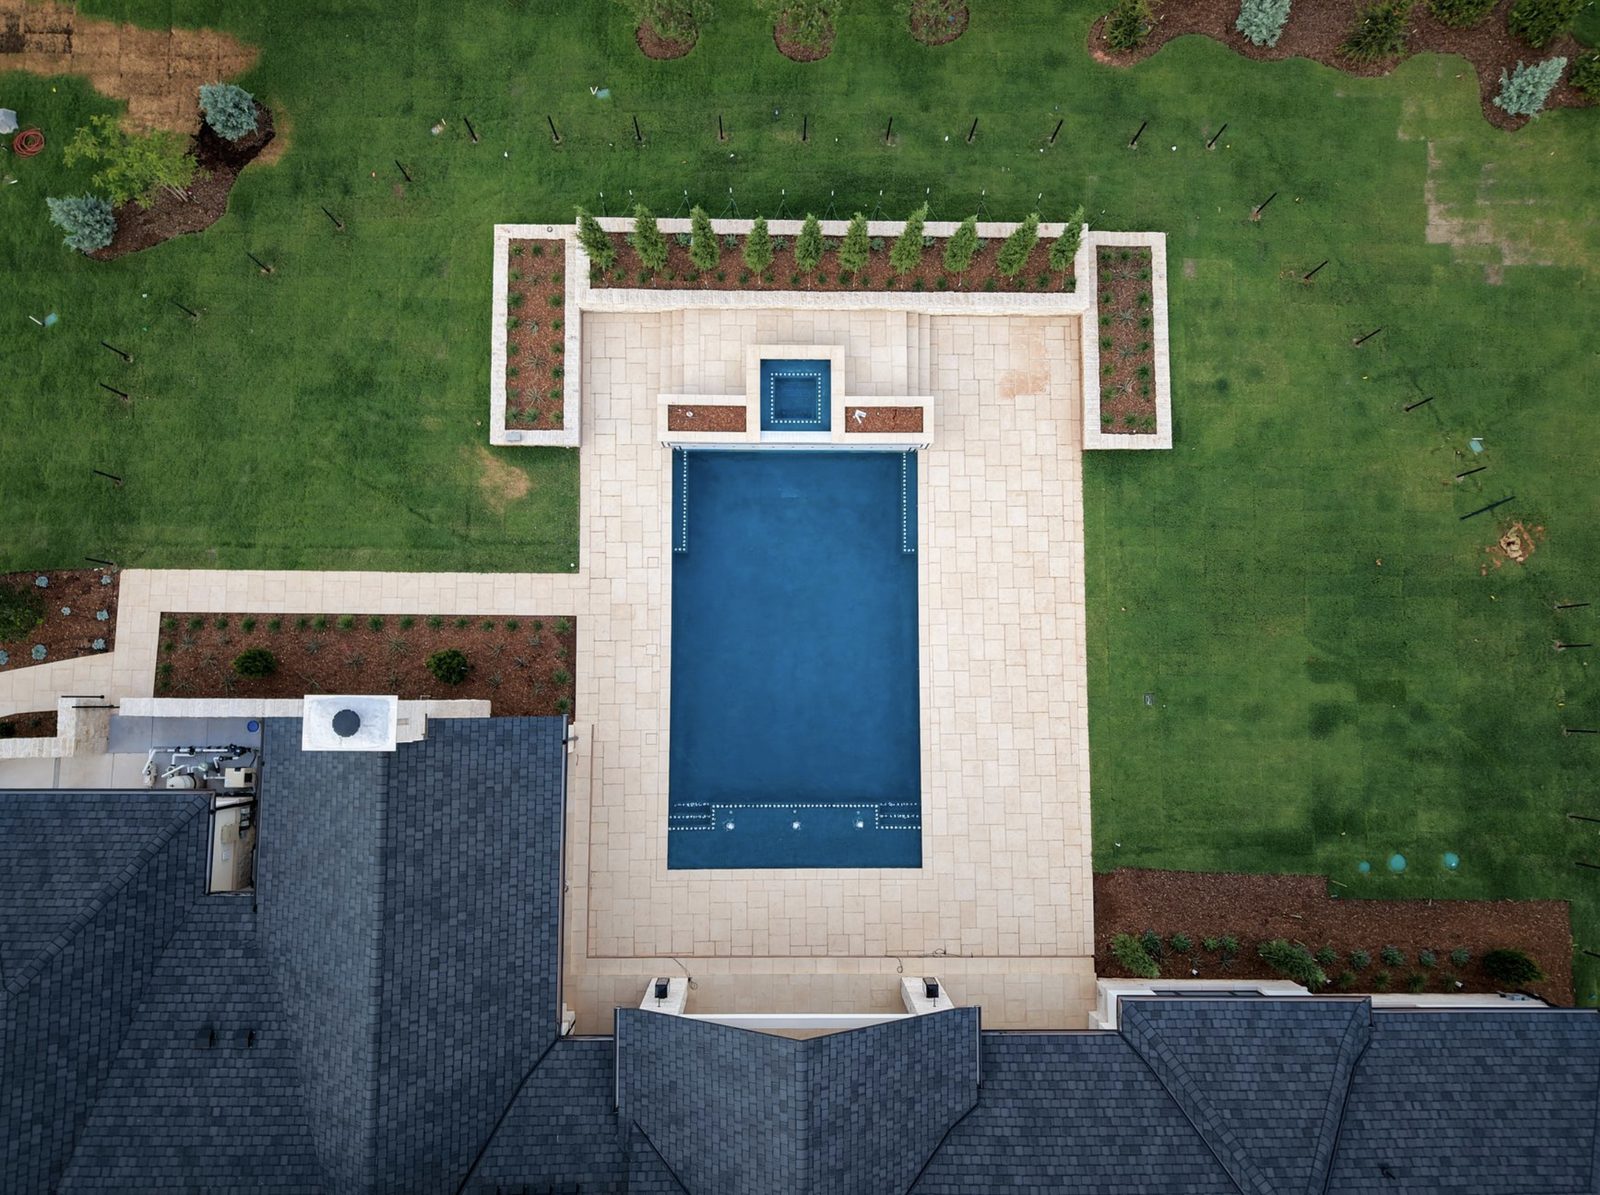

A good landscape lighting installation starts on paper, not with a shovel. Map your yard, decide what each area needs at night, size a low-voltage transformer to the total wattage of your fixtures, call 811 before you dig, and adjust the aim after dark. This guide walks through each step, including backyard lighting ideas, wiring basics, outdoor bathroom requirements and the points where a licensed electrician should take over.
TL;DR
- Draw a scale map of the yard first, then choose the effects you want, then pick fixtures. Fixtures come last.
- Add up the wattage of every fixture and multiply by 1.25 for the transformer size, so you can expand later.
- Call 811 before digging, bury low-voltage cable at least 6 inches deep and follow local code.
- Aim light downward and keep fixtures few and shielded, so you see the landscape and not the bulbs.
- Pools, spas, outdoor receptacles and line-voltage fixtures call for a licensed electrician.
Table of Contents
- Start with a map of your yard
- Think in effects and layers
- Backyard lighting ideas by area
- Size the transformer correctly
- How low-voltage installation works
- Safety, permits and code
- Lighting for an outdoor bathroom
- Pool and spa lighting
- When to hire a professional
- Our perspective on lighting a pool and outdoor living space
- Planning a pool or outdoor living space in Oklahoma?
- FAQ
- Sources
Start with a map of your yard
Before you compare fixtures, make a plan. This Old House recommends a property map showing the house, paths, trees and key landscape features, then using it as a blueprint to decide which areas to highlight and what effects you want. Fine Homebuilding suggests walking the property, listing what you do outside at night and what electrical needs may come later, and drawing it to scale with paths, trees, bushes, outlets and planned devices.
On your drawing, mark:
- Patios, decks, planting beds, walls and steps
- Trees and water features
- The transformer location and the nearest outdoor outlet
- Fixture positions, wire routes and connection points
Total Light recommends keeping this plan after installation. It saves you when you add a fixture or trace a fault two years from now.
Coordinate with everything underground
Cable routes cross irrigation lines, drainage, downspouts and utilities. iScape advises coordinating lighting routes with these systems before patios, paths and planting limit access. If you are building a pool, patio or new landscaping, this is the cheapest moment to run conduit and cable, because nothing is finished yet.
Think in effects and layers
Total Light’s approach is to begin with the effects you want, such as path guidance, uplighting, downlighting, wall washing and hardscape lighting. Then you choose fixtures and calculate wattage. Lumens recommends dividing the yard into functional zones and combining three layers:
- Ambient light for general use and a comfortable overall glow
- Task light for safe activity, such as steps, grills and seating
- Accent light to create depth on trees, walls and features
Zones matter because you will not want everything on at once. Separate circuits, timers, photocells or smart controls let you run a dim path scene on a weeknight and the full patio scene for guests.
Backyard lighting ideas by area
These ideas come from the layering approach above. Pick the ones that fit the way your family uses the yard.
Paths and walkways
Use low, downward-directed lights. Lumera Electric recommends shielded path lights aimed at the walking surface, alternating positions where appropriate, and avoiding light that points into pedestrians’ eyes, neighbors’ windows or the night sky.
Stairs, driveways and level changes
The Family Handyman advises prioritizing stairs, driveways and paths first. Those are the places where a missed step causes injury, so they get light before anything decorative does.
Decks and seating areas
The eLightSpot guide suggests lighting decks with fixtures on columns, risers and railings, beneath benches or in recessed areas. This keeps the source out of sight and the surface softly lit.
Walls, stone and trees
The same guide says to place wall lights roughly 6 to 8 inches from the surface and aim them upward, which works especially well on textured stone, brick, stucco and tree trunks. Texture catches light at a shallow angle, so rough surfaces look richer than smooth ones.

Patios, pergolas and fire pits
ND Landscape Services describes layered ambient and task lighting for patios, decks, pergolas and fire-pit areas. Think string or overhead light for general glow, a focused light where food is prepared, and a low accent light on nearby planting.
Water features
Fountains, spillways and waterfalls look best when lit from the water or from beside it, with the fixture hidden. Any fixture in or at the water falls under the pool and spa wiring rules covered below.
Avoid glare
The Family Handyman warns against crowding too many fixtures together, which makes the light source the focal point instead of the landscape. Restrained, downward-directed light is more comfortable to look at. Fewer, better-aimed fixtures almost always beat a yard full of bright ones.
Size the transformer correctly
A typical residential low-voltage system uses a transformer to step 120-volt household power down to about 12 volts, according to This Old House. Choosing the right size is a matter of arithmetic, not fixture count. Total Light says to add the wattage of every fixture and select a transformer rated above the connected load. This Old House adds a 1.25 multiplier on total fixture wattage so you have room to grow.
Here is an illustrative example using made-up round numbers:
| Item | Quantity | Watts each | Subtotal |
|---|---|---|---|
| Path lights | 8 | 4 W | 32 W |
| Wall or tree uplights | 4 | 5 W | 20 W |
| Step lights | 6 | 2 W | 12 W |
| Connected load | 64 W | ||
| With 1.25 expansion factor | 80 W |
In this example you would look for a transformer rated at 80 watts or more. Always check your own fixtures’ actual wattage and the manufacturer’s load limits.
How low-voltage installation works
VOLT Lighting’s guide outlines the sequence: mount the transformer, route and bury the cable, connect the fixtures, set the timer, then test and adjust. Here it is expanded into a working order.
- Finalize the plan. Confirm fixture positions, wire runs and the transformer location on your drawing.
- Call 811. Have buried water, gas, telephone, cable and electrical lines marked before any digging.
- Mount the transformer. Place it near a suitable outdoor power source and follow the manufacturer’s instructions.
- Lay out the fixtures and cable. Set everything on the surface first and check that your runs reach.
- Test before you restore the ground. Total Light recommends measuring voltage at representative fixtures, especially the farthest ones, before you close up the trenches.
- Bury the cable. This Old House states low-voltage cable should be at least 6 inches deep, with local code and manufacturer instructions followed.
- Set the controls. Add a photocell or timer so the system runs without you.
- Adjust after dark. Walk the yard at night and tweak aim, beam spread, output and spacing.
The nighttime walk-through is the step most people skip. Daytime placement almost always looks different once the sun is down.
Safety, permits and code
Fine Homebuilding says to call 811 and account for sprinkler piping before digging. It also notes that low-voltage lights generally do not need a permit, while outdoor receptacles and line-voltage fixtures do. Permit rules differ by city and county, so confirm with your local building department before you start.
Bob Vila reports that loose connections, damaged wiring and improper installation can cause short circuits, power failures or fire hazards. His advice is to use low-voltage systems, bury wires 6 inches deep, waterproof connections and respect manufacturer load limits.

Lighting for an outdoor bathroom
Outdoor bathrooms and pool-side shower areas add electrical rules that ordinary path lighting does not face. Treat the following as a starting list for your electrician and local inspector, not a full code summary.
- GFCI protection. A municipal NEC inspection checklist states that both bathroom and outdoor receptacles require GFCI protection. It also describes a restriction on receptacles within 3 feet horizontally and 8 feet vertically of a tub rim or shower threshold.
- Required lighting and switching. Eaton’s 2023 NEC guide states that dwelling-unit bathrooms need a lighting outlet and a wall-mounted control near an entrance, subject to exceptions.
- Wet or damp ratings. Mullan Lighting explains that the U.S. generally uses NEC and UL wet- and damp-location classifications rather than the European zone system. Choose fixtures listed for the exact conditions where they will hang.
Because these are line-voltage circuits, plan on a licensed electrician and a permit.
Pool and spa lighting
Water and electricity call for the strictest rules in the yard. Fine Homebuilding says hot tubs, pools and similar installations that need special grounding should be handled by a licensed electrician. A spa manufacturer’s installation manual from SpaCare makes the same point: connections must be made by a qualified, licensed electrician under NEC Article 680 and local codes, with GFCI protection for pool and spa applications.
The practical lesson is to decide on lighting early. When a pool, spa, deck and landscape are designed together, conduit, junctions and fixture locations are set before concrete and pavers cover them.
When to hire a professional
A small low-voltage path kit is a reasonable weekend project for a careful homeowner. Bob Vila says professional help may be the better choice if you lack electrical experience or need help making sure connections are safe and the system is not overloaded. Call a licensed electrician when your plan includes:
- Outdoor receptacles or any line-voltage fixture
- Lighting at or near a pool, spa or water feature
- An outdoor bathroom or kitchen
- New circuits, a new panel connection or trenching near utilities you cannot locate
Our perspective on lighting a pool and outdoor living space
We build pools, spas and complete outdoor living environments in Oklahoma, and the best-lit backyards we see are the ones where lighting was never an afterthought.
Our approach is one team handling design and construction from start to finish. That means the person planning your tanning ledge, spillway or patio is working from the same drawing as everyone building it. Decisions about where the light should fall, where the circuits should run and where the planting will grow happen together, not in separate conversations that have to be reconciled later.
We also believe the backyard should be designed around how your family lives. A quiet evening swim, a dinner for ten and a walk to the spa on a cold night each want a different mood. Planning those scenes at the design stage, alongside the pool type and hardscape, gives you a space that works at night as well as it looks by day.
Whether you choose a custom gunite pool, fiberglass, vinyl liner or an insulated pool, a clear plan up front is what keeps a project cohesive and on track.
the author
Planning a pool or outdoor living space in Oklahoma?
If your lighting plans are part of a bigger backyard project, we can design and build the whole environment with one team. Our published starting prices are $52,550 for fiberglass pools, $41,460 for vinyl liner pools and $29,800 for insulated pools, and fiberglass spas and spillover spas start at $14,200. Custom gunite pools, spas and water features are priced to your design.

See our pool types in Oklahoma City, explore spas and water features or start with luxury outdoor living to talk through your project with us.
FAQ
How deep should landscape lighting wire be buried?
This Old House states that low-voltage cable should be buried at least 6 inches deep. You should also follow your local code and the fixture manufacturer’s instructions, and call 811 before digging.
Do I need a permit for landscape lighting?
According to Fine Homebuilding, low-voltage lights generally do not need a permit, but outdoor receptacles and line-voltage fixtures do. Requirements vary by jurisdiction, so check with your local building department first.
How big a transformer do I need?
Add up the wattage of every fixture rather than counting fixtures, then multiply by 1.25 to leave room for expansion. Choose a transformer rated at or above that number and stay within the manufacturer’s load limits.
Where should I put lights first?
Start with stairs, driveways and paths, since they affect safety most. Then add accent light to walls and trees and layered light to patios, decks and seating areas, keeping fixtures shielded and aimed downward where possible.
Can I light a pool or spa myself?
No. Pool and spa wiring needs special grounding and GFCI protection under NEC Article 680 and local codes, and it should be done by a licensed electrician.
Sources
- Everything You Need to Know About Landscape Lighting, This Old House
- Planning Your Outdoor System, Fine Homebuilding
- How to Plan a Low-Voltage Landscape Lighting System, Total Light
- How to plan landscape lighting before patios, paths and plants, iScape
- Landscape Lighting Guide, Lumens
- Outdoor Lighting Ideas for Every Space, Lumera Electric
- Landscape Lighting Dos and Don’ts, The Family Handyman
- Landscape Lighting DIY Guide, eLightSpot
- Outdoor Landscape Lighting Design, ND Landscape Services
- How to Install Landscape Lighting, VOLT Lighting
- 7 Outdoor Lighting Mistakes You Didn’t Know You Were Making, Bob Vila
- 2023 National Electrical Code updates and additions, Eaton
- IP Rating of Light Fixtures Explained, Mullan Lighting
- BP8800 Install and Operations Manual, SpaCare
Made with BabyLoveGrowth tools
Ready to price your pool?
Tell us about your yard and the pool you have in mind, and we’ll help you find the right fit and budget for inground pool installation in Oklahoma City and the surrounding metro.